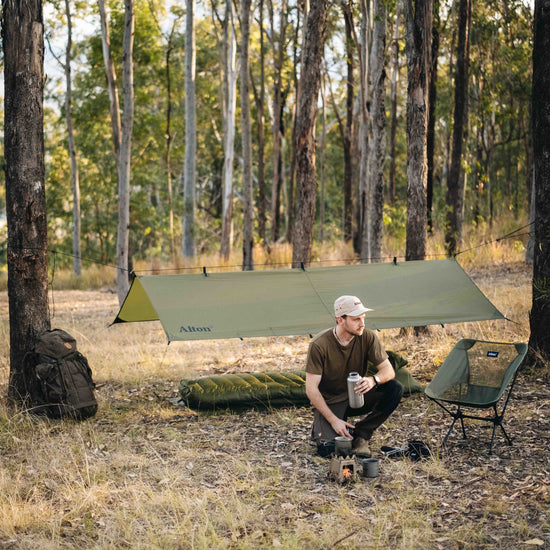

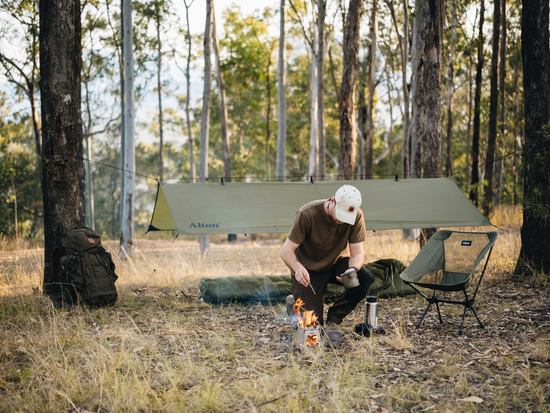
Here at Alton, we started tarp camping more than a decade ago. The memory of that first attempt at setting up a camping tarp shelter is still fresh, even after all these years. Let’s just say there was a lot of fumbling with knots, tripping over guylines, and struggling to get the right tension on the ridgeline. It was far from a flawless execution, but it didn’t matter – we were hooked.
In this blog, we’ll share the best tarp camping tips and tricks we’ve learned over the years. Think of this blog as your tarp camping roadmap—it won't magically set up your tarp for you, but it will guide you in the right direction, helping you avoid the same mistakes we made when we were first starting out.

Tarp Camping Tips & Tricks
1. Good quality tarp camping gear is worth the investment.
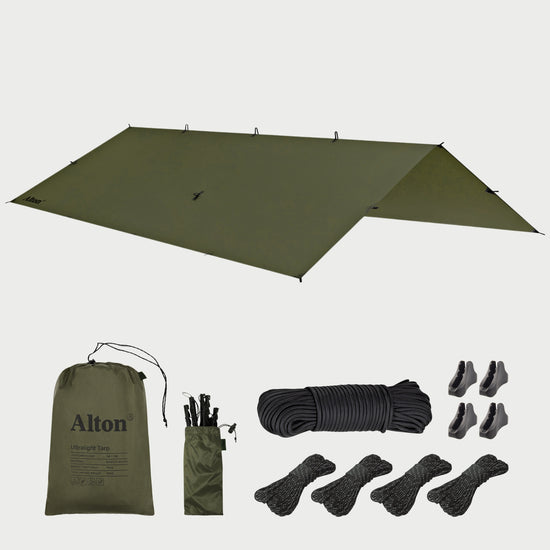
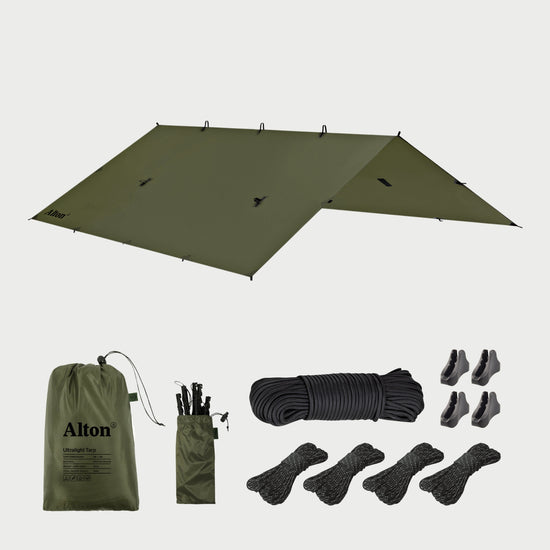
Tarp camping shows you that you don’t need much to create a protective shelter for camping. But, that doesn’t mean you should just grab any tarp and head out into the bush. Sure, you might not need that much to build a camping tarp shelter, the gear you take can significantly impact your outdoor experience, for better or worse.
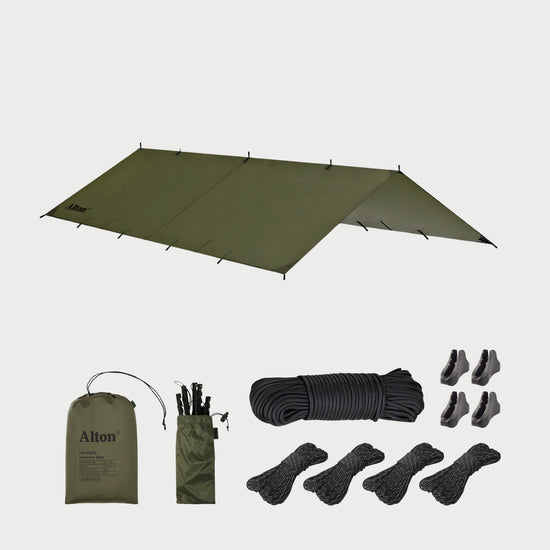
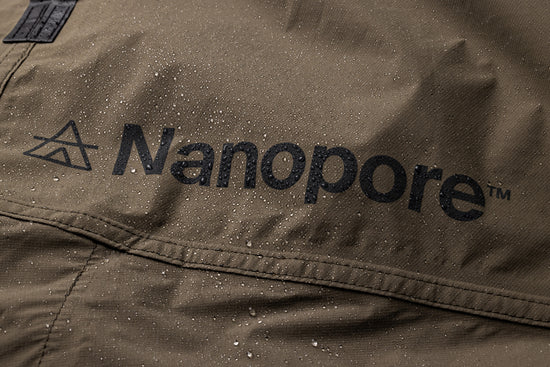
To ensure that you’re equipped and ready, we recommend investing in high-quality tarp camping gear that balances durability with lightweight performance. Look for a camping tarp made from waterproof materials and is fully seam-sealed (or be prepared to seam-seal it yourself). Another key feature to consider is versatility, as this will allow you to adapt your camping tarp shelter to ever-changing weather and terrain.
Want more information on tarp camping gear? Check out our Must-Have Gear for Epic Tarp Camping Trips blog for an in-depth guide to tarp camping gear, along with expert advice on how to choose the right gear for your specific needs.
2. Brush up on the best knots for tarp camping.
Knot tying is one of those skills that can seem daunting at first. In fact, we’ve seen tarps for sale with ‘no-knot’ ropes. But, here’s the thing: learning knots is not only practical and useful for SO many different things, but is also incredibly fun and rewarding!
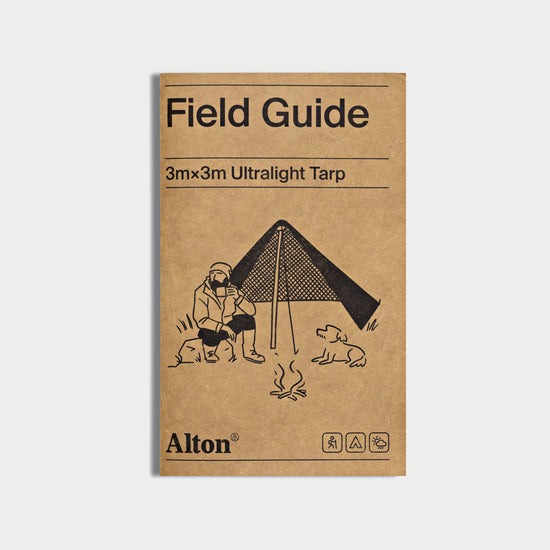
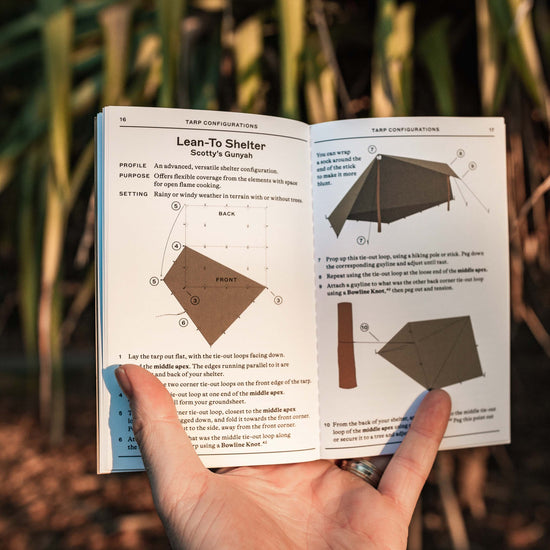
Knot tying is a skill that can be learned by anyone. It's like learning to ride a bike; with a little guidance and practice, you'll get the hang of it in no time. Our blog, 6 Tarp Camping Knots You Need to Know, is a great place to start, or you can pick up a copy of our Tarp Camping Field Guide to bring along on your overnight adventures. This nifty little guide covers all the fundamental knots and includes step-by-step instructions for 22 different shelter configurations.
3. Know which way the wind is blowing (so that you don’t blow away with it).
Wind direction is an important piece of the puzzle when it comes to maximising the effectiveness of your camping tarp shelter. If not set up properly, your tarp will catch the wind like a kite, subjecting your attachment points and anchors to a huge amount of strain.
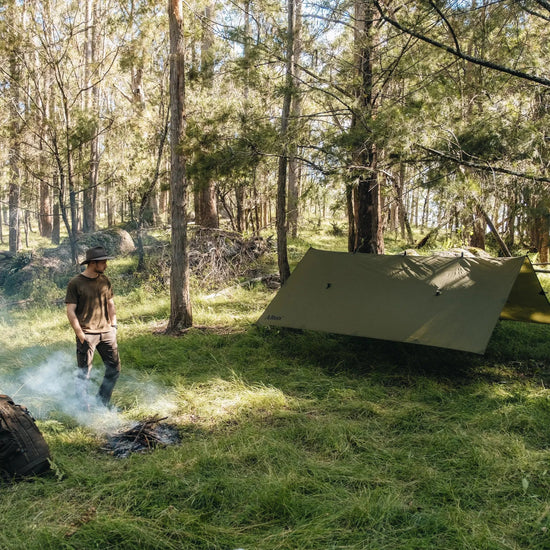
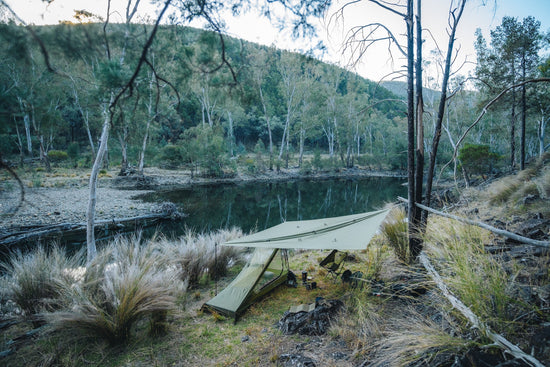
If you are camping in gusty or windy conditions, look for a sheltered campsite with natural windbreaks such as trees, rocks, or hills. Set up your camping tarp lower to the ground with the opening facing away from the wind. Low-lying configurations with steeply angled sides, such as a Closed End A-Frame or Tarp Tent, perform best in gusty conditions.

4. Make sure you have access to anchor points… or bring your own.
You can pitch a camping tarp shelter just about anywhere, provided you have something to secure it to. Camping tarps are not freestanding, meaning that they must be secured in place using anchors and supports.
If you are camping in terrain without naturally occurring anchors or supports, such as trees, rocks, sticks, then you will need to bring your own. Hiking poles, a bicycle, and vehicles can be used to build a camping tarp shelter.
5. Adapt your shelter to the weather conditions.
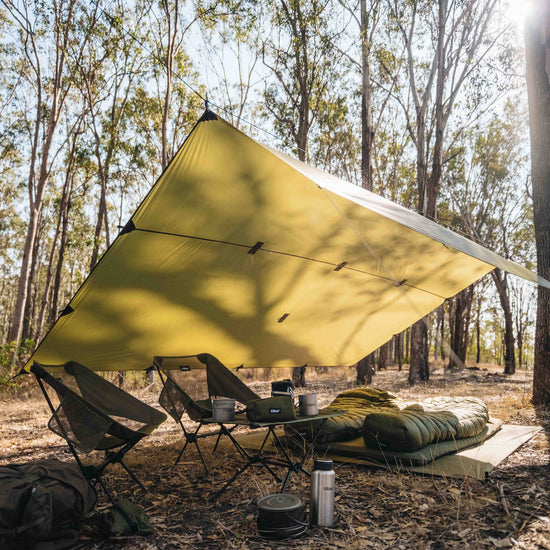
The ‘best’ camping tarp configuration is contingent on the conditions. Along with the wind and terrain, the weather will be the main factor to consider when setting up your tarp camping shelter.
If you're facing wet, windy or cold weather, you'll want something that gives you coverage from the elements; low-profile shelters that are closed off on two or more sides retain more heat and offer better weather protection.
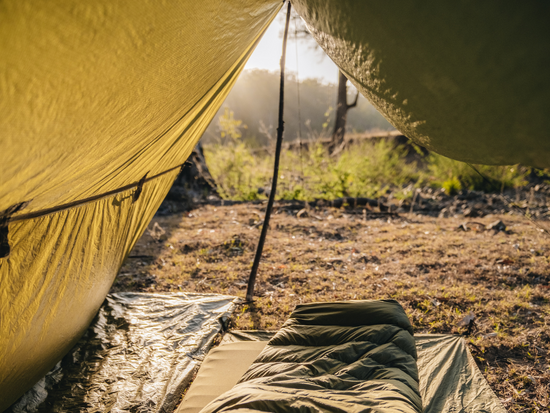
On the other hand, in warmer, mild conditions, higher, open configurations are optimal, as they promote better airflow through the shelter. This will help you stay cool and comfortable through the night.
6. Don’t let the bugs bite.
In hot or humid conditions where insects are at their most active, you will be far more comfortable if you bring some kind of mosquito net for camping. There are a few options out there, but we find that a bug net tent that is fully enclosed offers the best protection. In addition to having a mesh barrier, set your camp somewhere with good airflow, away from stagnant water or dense vegetation.

7. Add a water break to your ridgeline.
Using a water break, sometimes also called a drip line, can help prevent water from dripping down your ridgeline and into your shelter. It is super easy to add a water break to your camping tarp shelter: Prusik Loops, a twig, or just a piece of string can do the job.
Our go-to method is using a twig: simply wrap your ridgeline around the twig a few times until it holds securely in place, about a hand-span away from the edge of your camping tarp. To test that it is working properly, pour a little water on the ridgeline above the twig, adjusting the position of the twig if required.
8. Pack extra rope and pegs.
Expect the unexpected in the wild. The weather changes. Gear breaks. People forget things. The reality is that even the most carefully laid plans go awry sometimes.
A few extra metres of cordage, such as our 4mm 550 Paracord, and a few ultralight pegs will ensure that you are better equipped to respond to any unexpected situations that you might encounter out tarp camping.
9. Make time for a ‘dress rehearsal’ before the real deal.
If you are new to camping in general or just not familiar with using a camping tarp, then we always recommend doing a ‘dress rehearsal’ before you jump straight into your first overnight adventure. This process helps you identify areas for improvement, or things that you might have overlooked.
So, pack your bag with everything you think you need, then get out there and set up your camping tarp in your backyard or a nearby park. Try a few tarp camping setups that would be suited to various weather conditions or environments. Take notes as you go, jotting down anything that you might need to improve or adjust before the real deal.

10. Be safe out there.
Safety is a fundamental aspect of any outdoor adventure, and tarp camping is no exception. Do your research, keep an eye on the weather forecast, be prepared for the conditions and take steps to mitigate risk for yourself and others. The number one priority of any adventure is always to make it home again safely at the end of it, afterall.