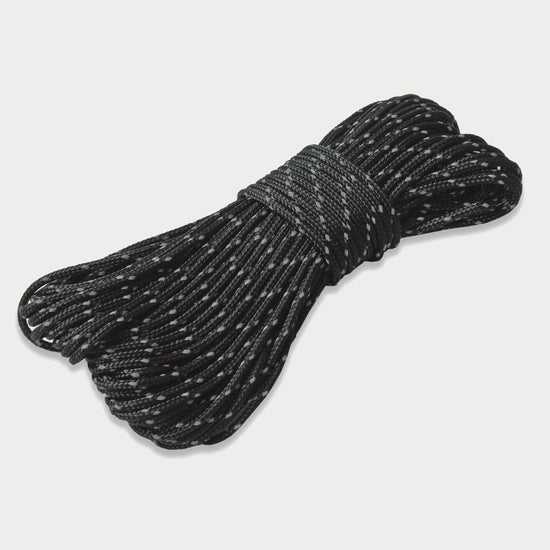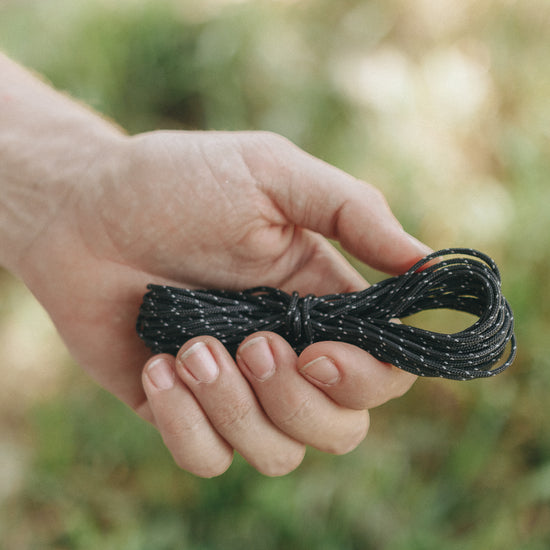


Knots are an essential skill for tarp camping. With the right knots, you can easily tighten a ridgeline, tension guylines, or adjust the position of your tarp to create a secure, taut shelter that can withstand even the most extreme conditions.
There are hundreds of different knots out there, but we're going to focus on six foundational knots that are perfect for camping tarp shelters: the Bowline Knot, Adjustable Guyline Hitch, Siberian Hitch, Prusik Knot, Reef Knot, and Trucker’s Hitch.
These six knots will give you all the basic skills you need to set up a secure and stable camping tarp shelter. In this blog, we'll walk you through each knot, laying out the possible uses and giving you step-by-step instructions to tie them like a pro.

A quick note about safety…
This guide is designed to help you learn the basics of knot tying with the intention of using these skills for tarp camping. If you are planning to use knots in situations where your safety is at stake then we urge you seek hands-on instruction from a qualified guide or instructor. A loose guyline won’t kill you. But, a poorly tied knot when you’re rock climbing could.
Knot Terminology
Before we get started, let's clarify some basic knot-tying jargon that is commonly used when talking about camping knots. Here is the terminology you need to know for the knots we’re covering in this blog:
Working End
The working end is the part of the rope that you are actively using to tie a knot.
Working Part
The working part is the portion of the rope between the knot and the working end. This part of the rope is actively involved in forming and adjusting the knot.
Standing End
The standing end is the part of the rope that remains stationary and is not actively involved in tying the knot.
Standing Part
Yes, you guessed it – the standing part is the length of the rope between the knot and the standing end.
Bight
A bight refers to a curved, U-shaped section in the working rope.
Loop
A loop is a complete circle in the rope, made by bending the rope back over itself.
Let’s learn some knots!
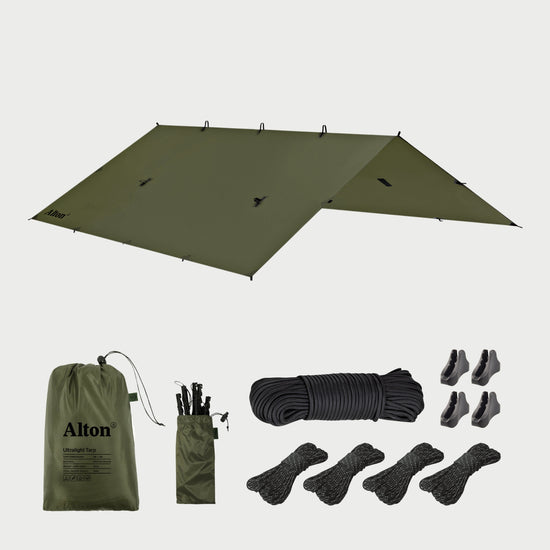
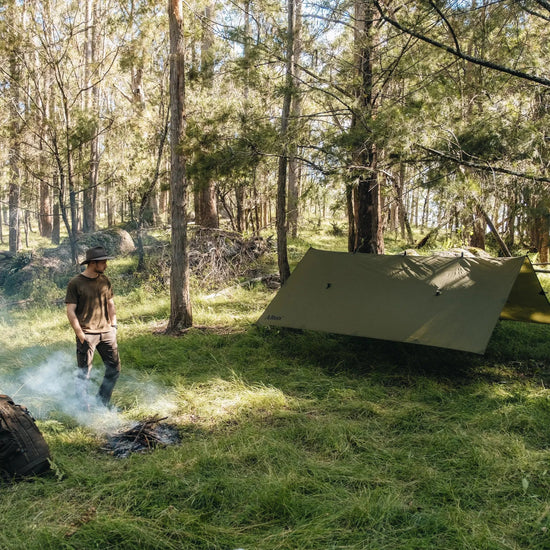
Nothing beats hands-on practice when it comes to learning to tie knots. If possible, get outside with your camping tarp so you can see how these knots work in practice. If that isn’t an option for you right now, just grab a couple lengths of rope (even shoelaces will work if you have nothing else) so you can get a feel for how each of these knots function.

Bowline Knot
The classic fixed loop Bowline (pronounced boh-lin) is a fundamental knot that everyone should learn. When tied correctly, a Bowline Knot forms a strong and stable loop that does not slip yet is relatively easy to untie, even after being subjected to heavy tension.
Uses for Tarp Camping
- Attaching guylines.
- Securing ridgelines.
- Secure loop at the end of a rope.
Advantages
- Strong and reliable.
- Easy to tie and untie.
Disadvantages
- It can become loose or unravel when unloaded.
Instructions
- Make a small loop near the end of the working end by folding the rope back over itself.
- Thread the working end of the rope through the tie out loop of your camping tarp.
- Feed the working end through the small loop from underneath.
- Pass the working end behind the standing end of the rope.
- Feed the working end back through the small loop and pull tight. Done!
- To release the Bowline Knot, reduce the tension on the standing rope and then pull the working end back through the knot.

Adjustable Guyline Hitch
The Adjustable Guyline Hitch, sometimes also called the Adjustable Line Hitch, is one of the most useful knots for tarp camping. This versatile knot allows you to adjust tension of guylines, giving you the flexibility to set up a secure, well-tensioned shelter with ease.
Uses for Tarp Camping
- Securing and tensioning guylines and ridgelines
Advantages
- Allows for easy adjustments.
- Easy to tie and untie, even when under load.
- Can be used with a relatively short length of rope.
Disadvantages
- May slide over time if the rope is too smooth, wet or frozen.
Instructions
- Pass the working end of the rope behind the anchor point, pulling it until there is some tension on the standing end.
- Wrap the working around the standing part twice, moving toward the anchor, and then gently pull tight.
- Pass the working end behind both ropes and create a bight.
- Pass the bight through the loop and pull it tight.
- You can now slide this knot up the standing part to adjust tension. To untie, simply pull the tail. Easy!
Watch how to tie an Adjustable Hitch here.

Siberian Hitch
The Siberian Hitch, also known as the Evenk Hitch, is an exceptionally quick and simple knot to tie. This knot is particularly useful for creating ridgelines for tarp camping because it is easy to adjust the tension of the standing end of the rope.
Uses for Tarp Camping
- Securing ridgelines or guylines to anchor points.
Advantages
- Easy to tie (even when wearing gloves).
- Adjust ridgeline tension.
- Quick release.
Disadvantages
- Not suitable for supporting heavy loads.
Instructions
- Wrap the rope around the anchor point (eg. tree), bringing the working end and standing end to lay over the palm of your hand.
- Pass the working end under your hand to create a loop, bringing it up and over both ropes.
- Tuck the working end back under both ropes and tuck a bight between your fingers.
- Pull the bight through the loop of rope around your hand, creating a slipped figure eight knot.
- Tighten the knot by gently pulling the loop you’ve just created and the standing rope until the knot is secure.
- To release the Siberian Hitch, simply pull the working end of the rope.

Prusik Knot
Quick and easy, a Prusik is another really useful knot for tarp camping. Also known as a friction hitch knot, a Prusik can be slid along another static rope or cord when slack, but holds firmly when under tension. A Prusik Knot can be tied with either a pre-tied loop of rope or with a short length of rope that can be tied off after securing the Prusik Knot.
Uses for Tarp Camping
- Securing a camping tarp to a ridgeline and creating tension.
- Adjustable attachment point for hanging gear.
- Creating a water-break on your ridgeline.
Advantages
- Quick and easy to tie and untie.
- Moveable, allowing you to add more tension.
- Highly secure when under tension.
Disadvantages
- Loses effectiveness on wet or frozen ropes.
- Works best when secured to a static rope of thicker diameter.
Instructions
- Take a short length of cord and create a U-shaped bight.
- Wrap the U shape around the static rope, feeding the ends through the bight. Repeat three times, ensuring that the turns sit neatly alongside each other without overlapping.
- Tighten the knot by gently pulling the ends.
- Thread one end of the rope through the desired attachment point, such as the tie-out loop on your camping tarp, then tie off the ends of the working rope with a Reef Knot.
- Slide the Prusik along the static rope into your desired position. The more tension you create, the tighter the knot will hold.
- To release the Prusik Knot, simply reduce tension and push the ends back through the bight.

Reef Knot
The Reef Knot, also called a Square Knot, is a basic knot that is commonly used to tie two ends of a single line together into a loop. The Reef Knot is handy for tarp camping, but it is essential that it is only used in non-critical situations with light loads.
Uses for Tarp Camping
- Connecting two ends of rope
Advantages
- Quick and easy to tie and untie.
- Low-profile when tightened
- Secure enough for basic outdoor and camping use
Disadvantages
- Comes undone under heavy loads or if jostled around.
Instructions
Note! The Reef Knot is very easy to tie and untie, but it is still very common to see people mistakenly tying a Granny Knot instead, which is far less secure. To clearly demonstrate the correct steps, we’ll use two different coloured ropes.
- Start with two ends of rope, then cross one end (green) over and around the other (black).
- Repeat this again, once again crossing the same end you used before (green) over and around the other (black).
- Pull both ends to tighten, creating a neat and symmetrical knot with a low profile.
- To untie the Reef Knot, pull one end down and towards the other, allowing you to then side the knot off the end of the rope.
Trucker’s Hitch
The Trucker’s Hitch works like a pulley, making it easy to adjust the tension of a rope that is secured between two anchor points. This trusty knot is one of our favourite knots for tarp camping, perfect for creating a taut ridgeline, but it can also be used to tension guylines. There are a few variations of this knot – the one we’ll show you today is suitable for low-risk activities like tarp camping, but should not be used to secure heavy loads on vehicles or other critical circumstances.
Uses for Tarp Camping
- Securing and tensioning the ridgeline.
- Tensioning guylines.
Advantages
- Makes it easy to adjust tension.
- Strong and secure when under tension.
Disadvantages
- Falls apart easily when not under tension.
- Can cause wear and tear to ropes over time.
Instructions
- Ensure that the standing end of your rope is securely tied to the first anchor point using a Bowline Knot or similarly secure knot.
- Move towards the second anchor point that you’ll be attaching the rope to so that you are standing within reaching distance of it.
- Create the loop by crossing the working part over itself so the working end lays over the top. This loop should be far enough up the rope that you have plenty of rope left to pass around the anchor and back to this loop.
- Pull this tight, forming a Slip Knot.
- Take the working end of the rope and pass it around your second anchor point, then feed the tail of the working end up through the loop of the Slip Knot.
- Draw the working end towards the second anchor, creating a little bit of tension, and then feed it back through the loop once again.
- Pull the working end towards the second anchor to tighten the standing rope until you have achieved your desired tension.
- To secure, first make a small bight in the working end and rest this over the top of the taut ropes, just a few centimetres down from the Slip Knot loop.
- Bring the bight under and up through the small gap that has formed between the taut ropes and the working part, forming a Slipped Half Hitch.
- Pull the bight tighten, then repeat this to create a second Slipped Half Hitch Knot beside the first for extra security.
- To untie the Trucker’s Hitch, start by pulling the end of the rope to release the Slipped Half Hitch Knots. Then, feed the end back through the Slip Knot loop twice, before pulling the working end again to release the Slip Knot. Easy!

Don’t let tarp camping tie you in knots!
We hope this guide has been a helpful tool for learning some of the basic knots used for tarp camping. If you’re like us, you’ll probably be thinking of all the possible ways you can use these knots and optimise your shelter setup in the wild. If you've mastered these knots and are keen to learn new rope tying tricks check out our Tarp Field Guide!