
Between the warmth, the scenery, and that sweet, smokey flavour, meals are simply more satisfying when cooking on the campfire. From building the perfect open fire to cooking up a bush brekky favourite, we’ll show you the basics of cooking by campfire, with a tasty recipe to get you started.
RESPECT YOUR SURROUNDINGS
When it comes to campfire cooking in Australia, where you set up, how you prepare your ingredients and how you sustain the heat across your cooking platform can make all the difference to your campfire meals.
Review the conditions.
Inclement conditions like wind, rain and mud, can quickly ruin your campfire cooking plans, especially if you haven’t packed enough fuel to go the distance. Before you set off, review the local fire restrictions and any relevant weather warnings to ensure that your campfire is safe to set up and sustain.
Source dry, clean-burning wood.
The last thing you want while cooking on the campfire is to run out of fuel. It’s important to have access to seasoned wood, rather than stripping the local area of damp or green wood; creating a smoky fire and unnecessary pollution. Some public campsites will supply firewood, so it pays to check or call in advance.
Seek a safe place to set up your campfire.
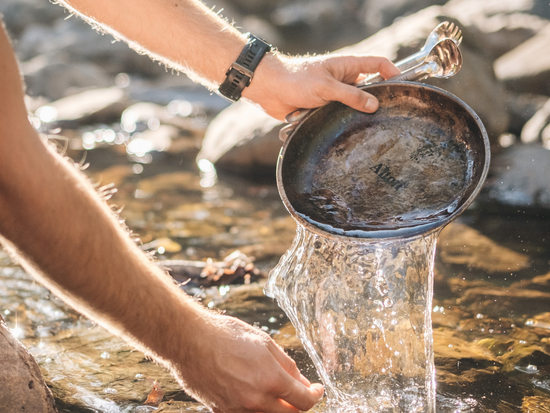
Build your campfire on rock, dirt or in a previously established fire pit, where possible, with nothing overhead for the flames to catch. A good rule is to keep the 3m radius above and around your fire, free of tents, trees and debris. Remember to always have water on standby to ensure that your campfire is extinguished responsibly when you’re finished.
PREP BEFORE YOU LEAVE
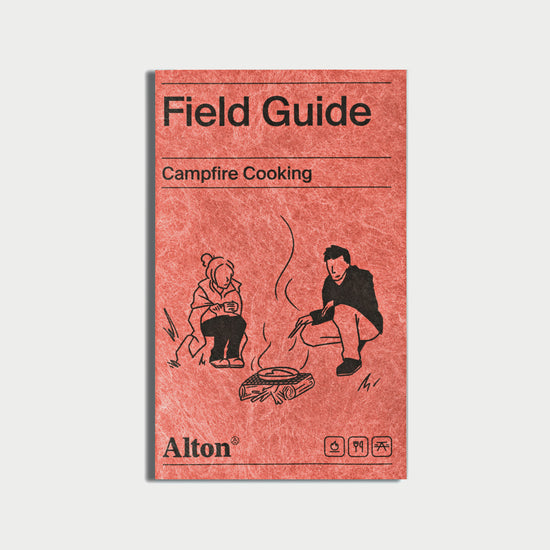
Once you’ve chosen your recipes, you can prep and pack accordingly. And if you need a little inspiration, we’ve developed a Campfire Cooking Field Guide featuring seven, easy, ultra-tasty recipes made for cooking by campfire.
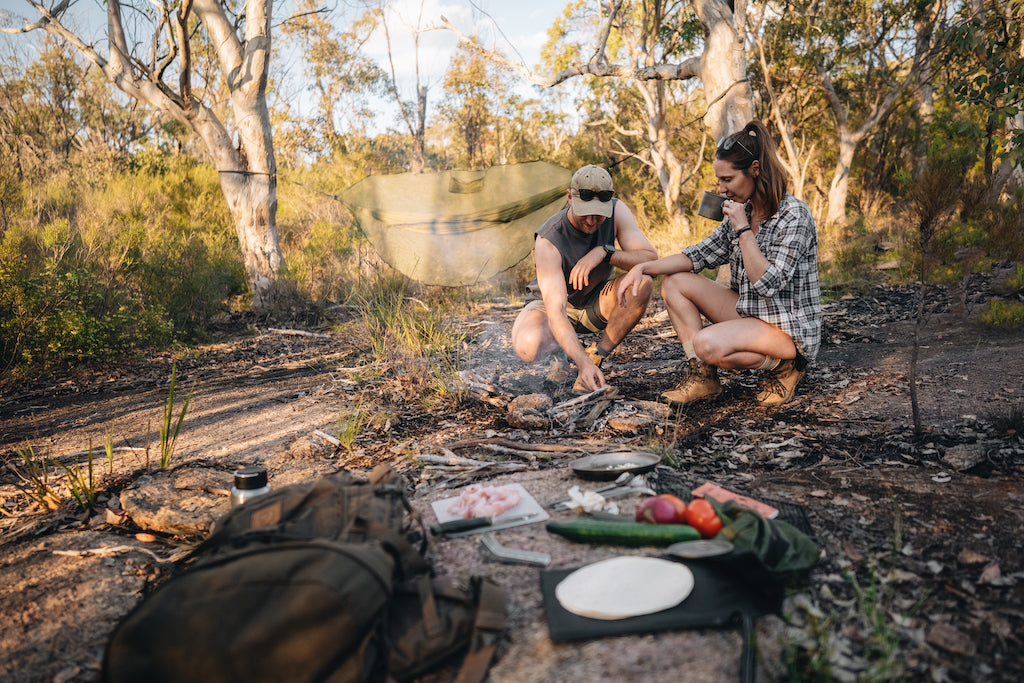
Prep ingredients where possible.
Cut your cooking time in half by doing all the chopping, crushing, marinating and combining at home. Just remember to bring all of your important utensils and camping cookware for the open fire with you (like tongs and cutlery). And if you’re worried about transporting eggs, consider cracking and storing this precious cargo in a bottle for your trip.
Food safety still applies in the bush.
Prepare, cook and store your food safely to help prevent food poisoning or contamination. Make sure high-risk foods like eggs, meat, seafood and dairy are kept cool (never above 5 degrees celsius) and that you always have a supply of potable (drinkable) water on you or available nearby. If in doubt, pack a food thermometer; it’ll save you from stressing about food safety without weighing your pack down.
As a general rule, food needs to be cooked to at least 75 degrees Celsius for safe consumption and should be refrigerated within 2 hours, or an hour in hot weather. Unrefrigerated food, so anything that sits within the danger zone (4-60 degrees Celsius), should only be eaten within 4 hours of cooking, otherwise it should be discarded.
BUILD A COOKING PLATFORM
The goal is to create an even layer of coals, with no flames to burn or blacken your food or camping cookware. The location and duration of your trip will help inform the amount and kind of fuel you might need, as well as a suitable ignition method.
Gather fuel for your campfire.
Collect the following types of dry, seasoned wood:
- TINDER – fibrous, highly combustible material to catch embers.
- KINDLING – dry, dead twigs that are matchstick thin.
- FUEL – Longer lengths of dry, dead wood ranging from thumb to wrist thickness.
Avoid using damp or green wood. If dry wood isn’t available, your fuel will need to be packed closer together.

Prepare a platform.
To allow oxygen to get under the campfire, create a short stack of 6-8 sticks roughly 30 cm long and as thick as your thumb. Place the sticks side by side to form a parallel platform, add a couple of handfuls of tinder on top.

Ignite the stack.
Using a fresnel lens, ferrocerium rod or an alternative ignition method (e.g. a lighter), ignite the tinder, blowing on the embers until they catch flame.
Using a fresnel lens
Light a solar fire by harnessing the sun’s rays.
- Line up your lens to magnify sunlight directly over your tinder bundle.
- Once it begins to smoulder, blow the embers until they catch flame.

Using a ferrocerium rod
Even in cold and wet conditions, ferrocerium rods produce very hot sparks when struck swiftly at a 45° angle.
- Point the rod towards where you’d like the sparks to go.
- Using a hard object, striker, or spine of a knife, scrape the side of the rod quickly to light your tinder (keeping a 45° angle between the striker and the rod).
- Anchor your knife against your boot and pull the rod towards you.

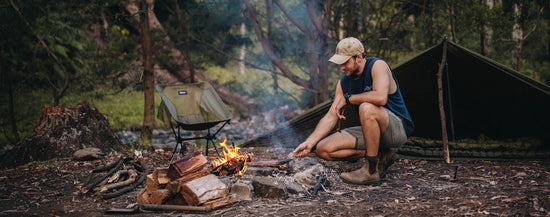
Assemble and manage your campfire.
Once the tinder is alight, gently add matchstick-thin kindling on top in a criss-cross formation to create a more substantial stack. Once flames rise through the top of your kindling, add longer lengths of fuel around the fire in a teepee formation, making sure that the apex meets over the top of the flames. Continue to build your fire using higher grades of fuel (increasing in thickness), as flames rise through the apex. Remember, campfires can spread quickly and it’s important to have water nearby at all times.

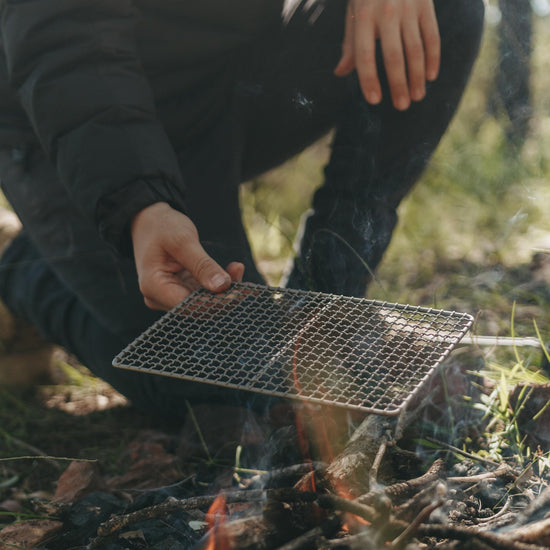
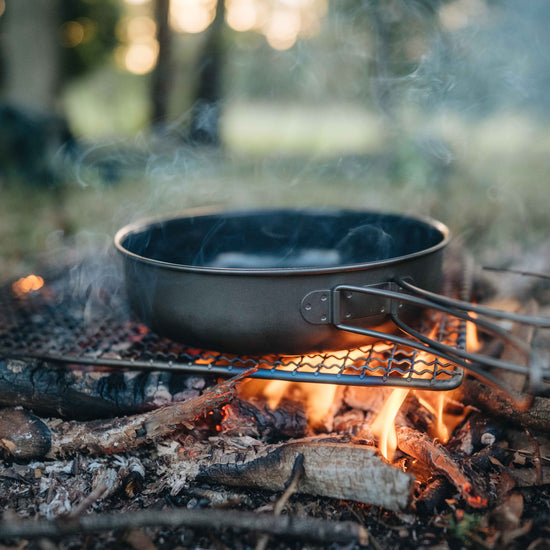
Create a cooking platform.
Once the flames have died down, level out your white coals evenly or distribute more of them towards one end of the campfire than the other to create distinct, low, medium and high-temperature cooking areas. Place your chosen camping cookware directly onto the coals and follow your recipe as outlined.
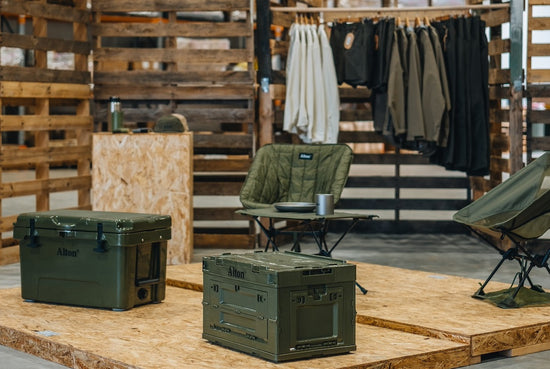
PACK CAMPING COOKWARE FOR AN OPEN FIRE
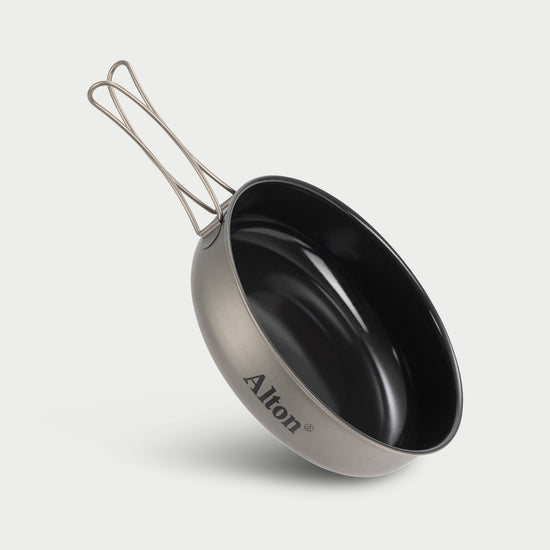
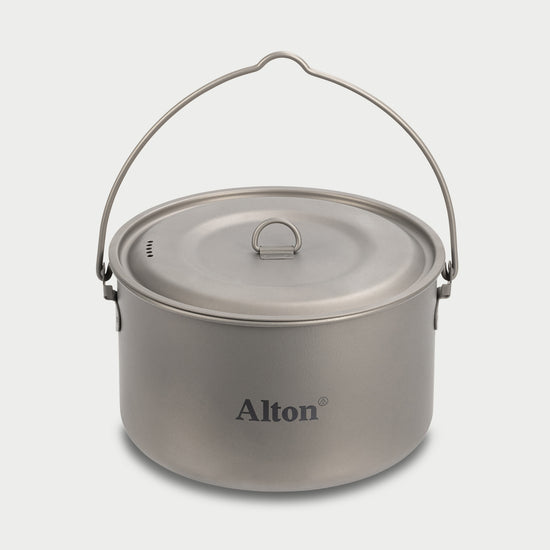
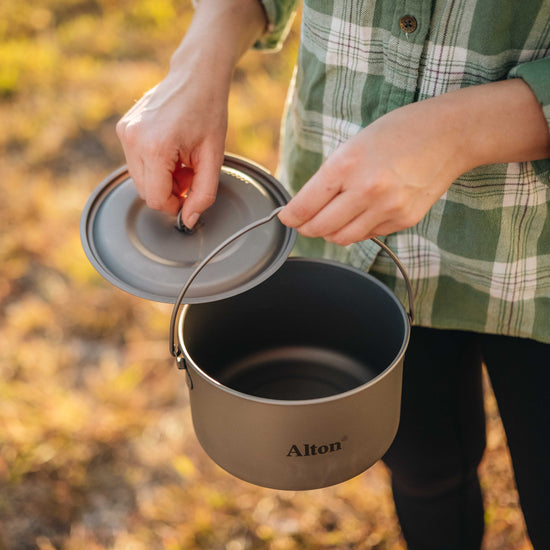
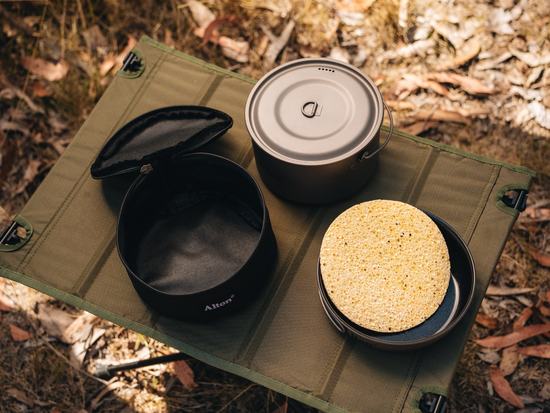
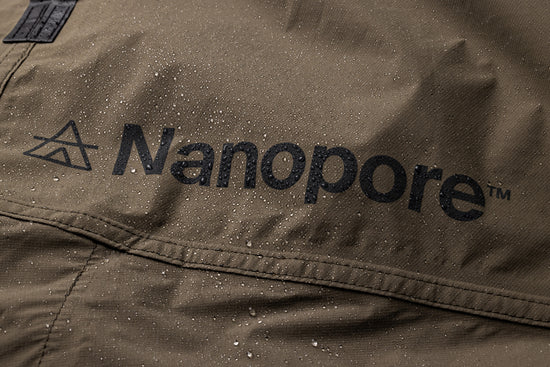
From titanium grills to cast iron, the cooking surfaces you need will depend on the recipes you’ve chosen. Always seek durable, corrosion-resistant materials that can withstand high heat with no degradation. Consider lightweight camping cookware that serves a dual purpose, like our Titanium Single-Wall Cups for boiling water or simmering soups, and Ultralight Titanium Plates that double as a cooking pan.
RECIPES FOR COOKING ON THE CAMPFIRE
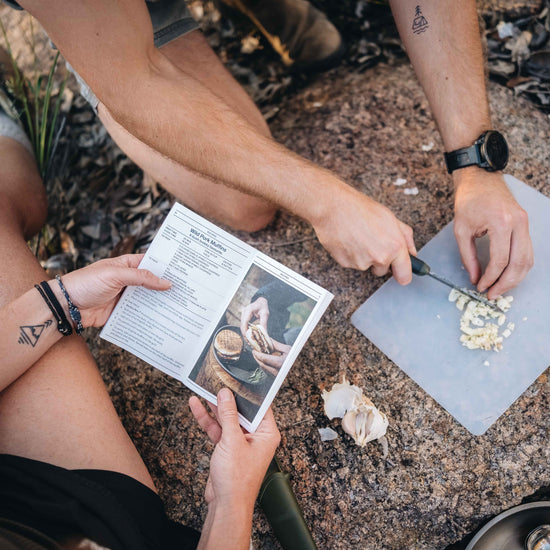
Now that you’ve learned the basics, it’s time to test your skills with a nice and easy recipe, like our delicious Wild Pork Muffins. Developed with bush-cooking expert Eamon Waddington, this bush brekky favourite is perfect for cooking by campfire with most of the prep done ahead of your trip.
WILD PORK MUFFINS
Prep time: 20 min
Cook time: 15 min
Yield: 6 PATTIES
TO PREP
- 3 cloves Garlic (finely chopped)
- 1 Shallot (finely chopped)
- 1 tbsp Fresh Fennel (finely chopped)
- 6 Sage Leaves (finely chopped)
- 500g Pork Mince
- 1 Egg
- Chilli Flakes
- Salt and Pepper
TO PACK
- Oil
- 6 English muffins
- Caramelised Onion (in jar)
- Jarlsberg Cheese (sliced)
- Kewpie Mayo (or regular mayo)
EQUIPMENT
BEFORE YOU LEAVE
- 1. Thoroughly combine mince with finely chopped garlic, shallot, fennel, sage, and one whole egg. Season with chilli flakes, salt and pepper.
- 2. Place seasoned mince into a sealed bag/container for your trip.
IN THE FIELD
- 3. Build a fire. Position grill on a steady section of the fire.
- 4. Roll mince into balls, then flatten into 2cm thick patties; the size of an English muffin.
- 5. Add oil to a pan then place it onto the grill.
- 6. Fry patties until cooked through. Set aside.
- 7. Toast your English muffins on the grill.
- 8. To serve, add caramelised onions to one half of the muffin, followed by a patty and cheese. Spread mayo on the other half of the muffin and place on top.

HUNGRY FOR MORE?
For more campfire cooking-ready recipes, order your copy of the Campfire Cooking Field Guide; a pocket-sized, tear-resistant guide, featuring seven simple yet tasty meals made for cooking on the campfire. Pack light, eat well and go further.