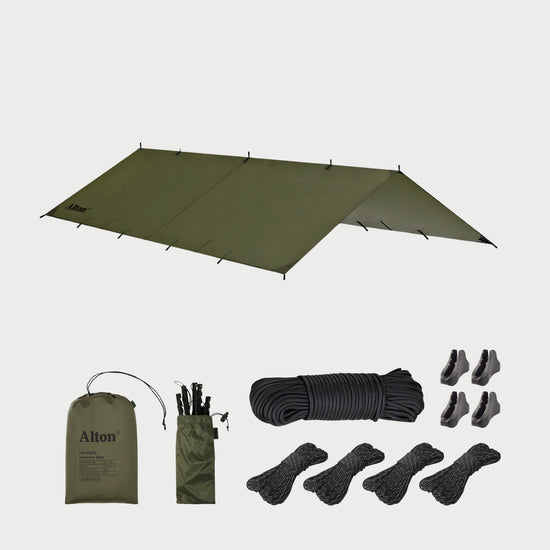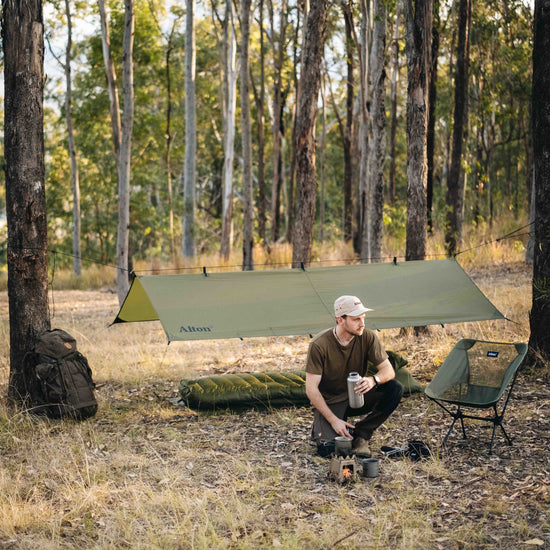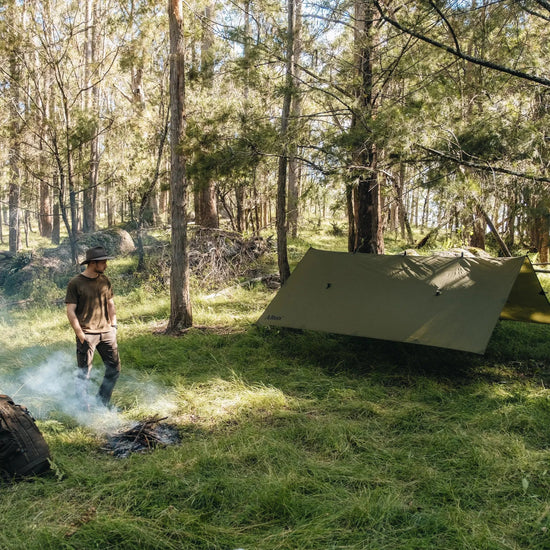


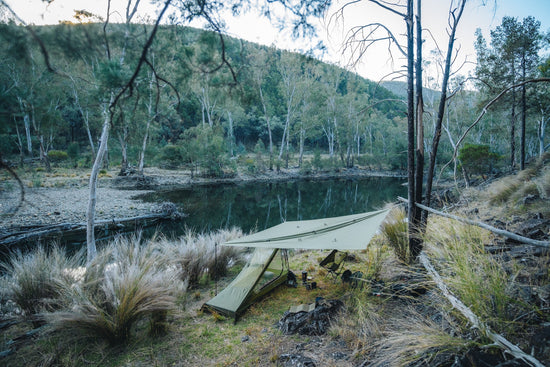
Alton’s lightweight camping tarps are built for use in harsh wilderness environments and are highly resistant to rips, tears and punctures.
But the reality is, if you regularly use your tarp into rough terrain, then your tarp may sustain some damage.
The good news is that most tarp damage is easy to fix – and when done right, your repaired camping tarp will be fully functional and last for years.
Here’s our step-by-step guide to help you get your tarp back to working order at home or in the field:

1. Assess the damage.
Start by taking a moment to examine the damage. Small punctures can be fixed with a quick patch, but larger rips or tears often require patching on both sides.
If you suspect the damage has occurred due to a manufacturing fault, please refer to our Returns & Repair page for more information.
2. Clean and dry your tarp.
Dirt, grime and moisture can prevent the repair patch from adhering properly, so before making your repair, ensure the area on the tarp you’ll be repairing is clean and dry.
Use an alcohol wipe and/or wash the area with water and mild soap (we recommend Nikwax Tech Wash®). Allow the tarp to dry completely before proceeding.
3. Apply the tarp repair patch.
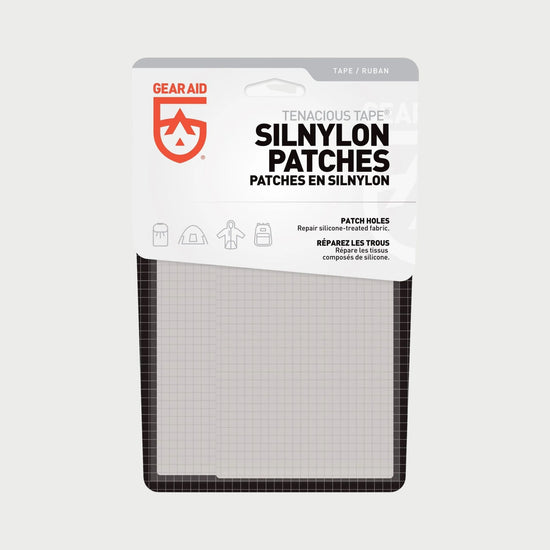
For small to medium punctures and tears, we recommend using Tenacious Tape Silnylon Patches. These outdoor gear repair patches are specially designed for use on silicone treated fabrics, as used in our Ultralight Tarps.
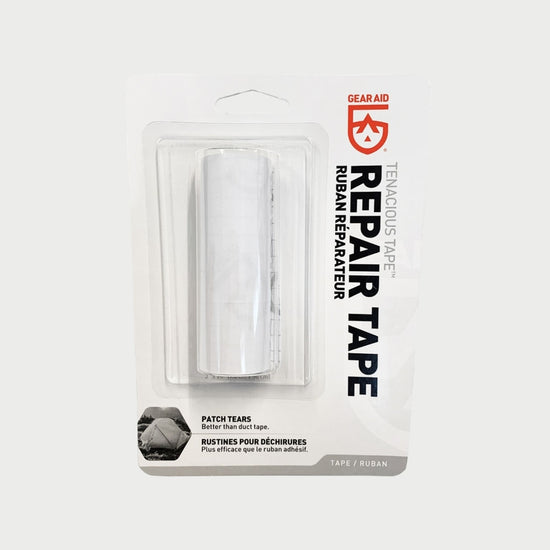
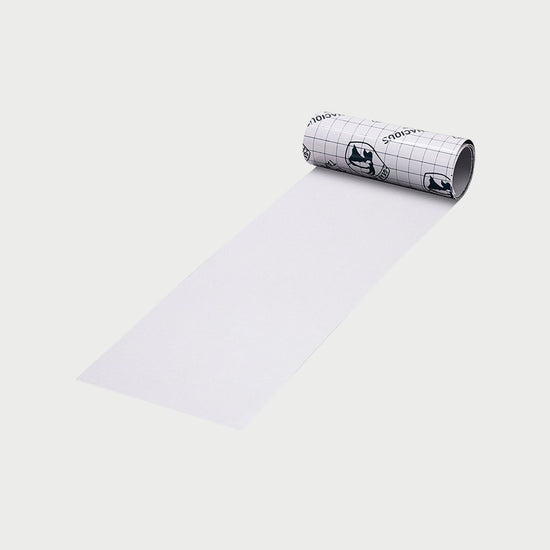
For larger tears or rips, Tenacious Tape Repair Tape is a good alternative. This is a versatile, permanent repair tape that can be used on almost all outdoor gear, including jackets, packs, tents, and more.
How to repair rip, tear or puncture in your camping tarp:
-
Lay the tarp on a smooth, flat surface if possible. This will make it much easier to apply the patch.
-
Prepare your patch. For best results, the repair patch must be at least 2.5cm wider than the puncture or tear on all sides. If using repair tape instead of patches, cut it to size and round the corners to prevent peeling.
-
Remove backing and stick into place. Press down firmly so the entire patch is adhered to the fabric, making sure there are no air bubbles, creases or peeling edges.
-
For best results, apply a second patch to the other side. Depending on the size and shape of the puncture or tear, consider using another repair patch on the reverse side of the tarp for added durability.
-
Allow to cure if needed. Tenacious Tape Silnylon Patches adhere instantly, but if you are using an alternative gear repair tape please refer to the manufacturer's advice regarding cure time.

4. Take care of your tarp.
As the old saying goes, prevention is better than cure. Here are some tips to keep your camping tarp in good condition:
-
Check for minor damage after each use – and fix it before it gets worse. Make a habit of inspecting your camping tarp after each trip. This helps you get on top of any signs of damage early, while it’s still easy to fix.
-
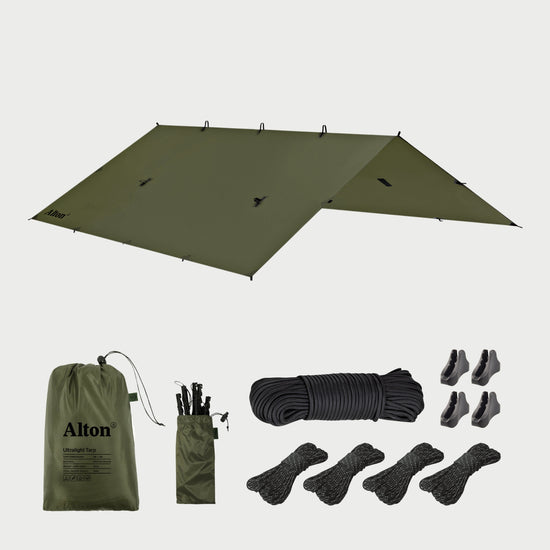
Carry a basic camping tarp repair kit with you. Carrying one or two tarp repair patches and/or a small roll of gear repair tape with you ensures that you’re able to fix damage in the field. A basic tarp and gear repair kit weighs almost nothing, but can prevent minor issues from turning into major problems.
-
Regularly clean your camping tarp. We recommend cleaning your camping tarp once a year (or more frequently, depending on how much you use it) with a suitable technical outdoor wash, such as Nikwax Tech Wash® or SolarWash®. This removes any dirt or residue build up, replenishes the waterproof coatings, and conditions the fabric so that it stays in good condition for longer.
-
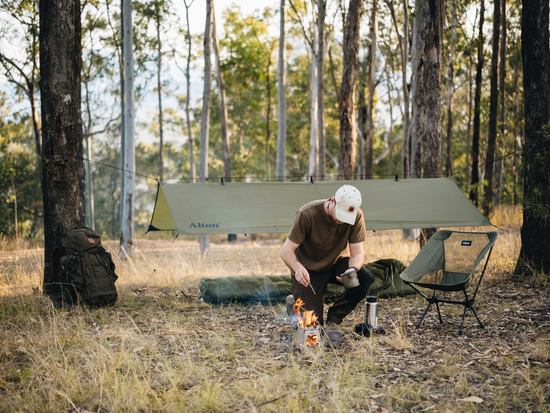
Keep your tarp away from the campfire. Hot ash and sparks from a campfire can travel a surprisingly long way, so we recommend you keep your camping tarp at least 6m away from any open flames.
-
Avoid prolonged sun exposure. Alton camping tarps are made with UV resistant fabric, but prolonged sun exposure can still weaken the fabric over time. If you use your camping tarp in sunny or high UV conditions, we recommend applying a UV-protective fabric treatment every 6-12 months.
-
Practice camping tarp setup skills (and choose the right setup for the conditions). Poor setup technique is one of the most common causes of tarp rips, tears and punctures. Taking the time to learn the essential tarp camping skills – knot tying, setup configuration, shelter placement, etc – can prevent avoidable accidents and help your camping tarp have a long, happy life.
-
Store your camping tarp correctly. One of the easiest and most effective ways to extend the life of your camping tarp is to store it properly. Ensure your camping tarp is clean and dry before packing it away. Store it in a cool, dry place – avoid places that are exposed to high heat or humidity, such as attics, vehicles, or garages.

Have more questions about tarp repair?
We’re proud to make some of the best camping tarps Australia has on the market, with proven durability and reliability in harsh conditions and unforgiving terrain.
But even the best gear can take a beating sometimes – and if that happens, we’re here to help.
Supporting our customers is a core part of what we do, so if you ever run into issues, have questions about repairs, or need to order replacement parts, don’t hesitate to get in touch.