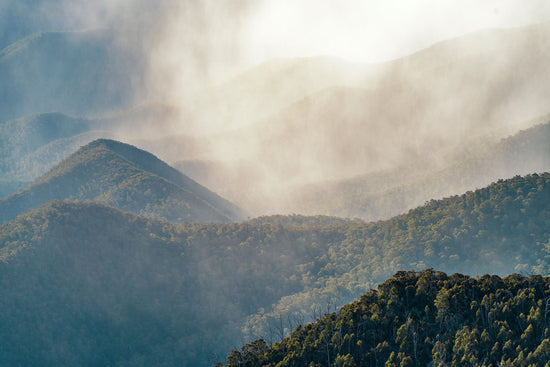
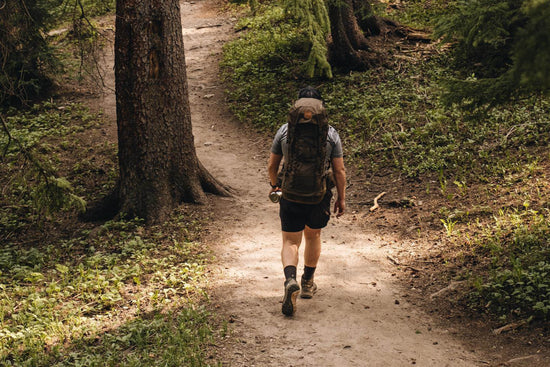

Being a committed adventurer requires you to take preparation seriously.
You have to think ahead, consider all eventualities and come up with contingency plans.
Today, we’re going to let you in on a little secret; a small but significant way that you can be better equipped, not just in the wild but everywhere you go.
A way to start a fire, signal help, magnify small details.
Because you never know when you might find yourself in a situation where having a source of heat and light might just make the difference between life and death.
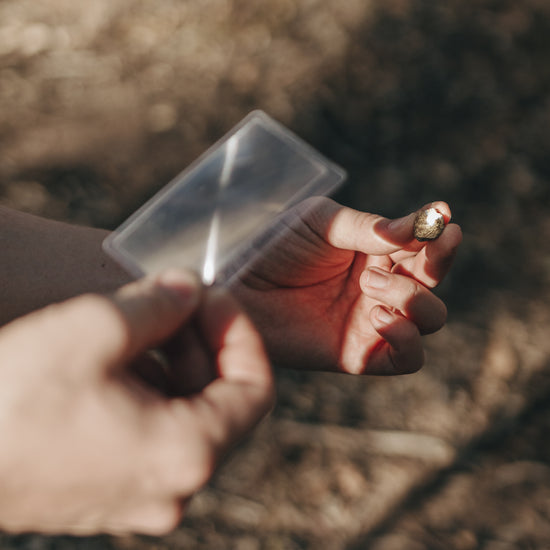
Yep, we’re talking about the Fresnel Lens.
What is a Fresnel lens and how does it work?
A Fresnel lens (pronounced as ‘Fray-nell’) was originally developed for use in lighthouses by French physicist Augustin-Jean Fresnel. It is a type of lens that is thin and flat with a series of concentric grooves on one or both sides.
These ridged contours on the lens refract light in a similar way to a conventional optical lens, achieving a comparable level of magnification and refraction while being significantly thinner and lighter than traditional magnifying lenses.
Today, Fresnel lens technology is used in a huge variety of industries and applications, from stage lighting and TV screens to medical devices and traffic lights.
But that same ultralight lens technology makes the Fresnel lens incredibly useful for bushcraft camping and wilderness survival.

What is a Fresnel lens for bushcraft?
Fresnel lenses for bushcraft and wilderness survival activities have been engineered to be as light, portable and durable as possible.
They are usually made from high-quality PVC, which is better suited to outdoor use because it is lighter and more flexible than glass.
Experienced bushcrafters and wilderness survival experts will often refer to Fresnel lenses as an ‘EDC’, a.k.a an ‘Everyday Carry’ survival item.
The term 'EDC' is used describe small, portable items or equipment that would help you survive in an unexpected emergency situations.
A Fresnel lens for bushcraft is the perfect example of an EDC survival item because it has life-saving functionality, yet only weighs a few grams and is typically no bigger than a credit card. Perfect for tucking away inside your wallet!
Another great point about Fresnel lenses is that they can be taken with you when travelling, including on aeroplane, because they do not utilise flammable materials or chemicals to create heat.
That said, always double check the list of prohibited items with any airline before flying – we don't want to be the reason you get kicked off your flight!
What is the best Fresnel lens for bushcraft, camping and wilderness survival?
Fresnel lenses for bushcraft and wilderness survival come in a variety of magnification factors, usually ranging from x2 up to about x5.
The higher the magnification, the stronger potential light and heat the lens will be able to generate, but also the bigger and heavier it will be.
But before you go ahead and buy the strongest Fresnel lens you can find, remember that the best fresnel lens for any specific outdoor use will depend on what you're expecting from it.
If you want a versatile fire starter that you can carry with you at all times, then a magnification factor of 2x or 3x will be perfect.
This will be light and small enough to keep on you at all times, tucked away in your wallet or back pocket, but still powerful enough to do the job.
If you are planning on using your Fresnel lens as your primary fire-starting method, such as on challenging bushcraft expeditions in remote locations, then you may want something that has a magnification factor of between 3x and 5x.
This will give you a concentrated, powerful beam of light and may perform better in sub-par conditions.
How to use a Fresnel lens
Starting a campfire. Signalling for help. Magnifying small details. A Fresnel lens can be used in a few ways when you’re hiking, camping, or doing any kind of outdoor activity.
Magnifying things with a Fresnel lens is pretty straightforward. You can place the Fresnel lens on the map directly and you’ll instantly have a close-up view. You can also use the magnifying properties of the Fresnel lens for tasks that require a lot of precision like gear repairs or even first aid, such as removing a splinter.
Signalling with a Fresnel lens is also fairly intuitive. Look for a clear line of sight to where you want to signal for help, then hold the lens up to the sun so that it catches the light and creates a focused beam and aim it towards your target. Move the lens back and forth to create a flashing signal. Easy!
But what about starting a campfire with a Fresnel lens?
Well, it isn’t hard, but it does require a little bit more knowledge and practise to get it right.
Here’s what you need to know:

How to use a Fresnel lens to start a campfire
Let us start by saying that a Fresnel lens is not a toy.
It’s a tool.
And like any tool, a Fresnel lens can be extremely dangerous if used irresponsibly.
The concentrated solar power of the lens can cause burns and eye damage if not used appropriately. For this reason, we recommend wearing polarised sunglasses when using a Fresnel lens and avoid looking directly at the concentrated light as much as possible.
Before using a Fresnel lens as a fire starter, always check if there are any fire regulations in place. For more info on responsible firecraft, read our essential bushcraft skills blog.
And remember, when working with fire you have a duty to continually monitor your campfire and extinguish it completely before leaving it.
You got all that? Good.
Using a Fresnel lens to start a campfire requires three things:
-
Your Fresnel lens (of course)
-
Dry Tinder
-
Sunlight
Ok, now you have what you need, let’s get started.
Step 1: Find a suitable (sunny) location
Before you do anything else, you’ll need to make sure you have access to the sunlight.
Take note of which direction the sun is coming from and prepare a safe place to start your fire at least three metres away from any structures or overhanging branches.
Clear away any flammable materials and if possible dig or build a fire pit to contain your campfire.
Step 2: Prepare your tinder
Having the right tinder is essential, and it may take some trial and error to figure out what tinder works best for you.
You can use a variety of found or made substances for tinder. For example, you could use dry grass, newspaper, magnesium flakes, crushed dead wood, cotton balls dipped in Vaseline, or even hand-sanitiser can do the trick in an emergency.
Whatever you choose, you will also need to gather some other dry organic matter like twigs, leaves or pine-needles and create a little nest around your tinder.
Step 3: Position your Fresnel lens
Position your Fresnel lens and hold so the sunlight hits it directly.
Adjust as needed until you can see the intense beam of light shining in a straight line onto your tinder, then bring the Fresnel lens fairly close to the tinder, so the light is focused on one small point of powerful concentrated heat.
Step 4: Stay very, very still
Be warned – this step is a lot harder than it looks!
Once you have your positioning, it is essential that you hold very still and keep everything in a direct, steady line from sun to lens to tinder. Any movement will cause the heat to dissipate, which will slow down the process and make the Fresnel lens less effective.
To hold the lens steady, try holding your wrist with your opposite hand or resting your arm on a support such as a bag or rock so keep yourself as still as possible.
Another trick that works well is to make a lens holder that you can secure in place. For example, try splitting one end of a twig down the middle so you can wedge the lens into the gap, then drive the other end into the ground like a tent peg and place your tinder under the focal point of light.
This will ensure the light remains as focused as possible onto one precise spot of your tinder, which is what is required to generate enough heat to ignite the tinder.
Step 5: Wait until you see your tinder begin to smoulder
The exact time it will take to ignite your tinder depends on a few factors, including the tinder you use, the weather conditions, your skill level and the magnification factor of your Fresnel lens.
If you’re holding really still and have bright, direct sunlight to work with, you might see the tinder begin to smoulder within a few seconds, but in some cases it can take a few minutes to see any results.
Be patient (and hold still) until you see a black spot begin to form on the tinder.
Step 6: Move back slowly to make the burnt area bigger
Once you see that your tinder is beginning to smoulder, you want to increase this area of heat.
To do that, slowly move the lens back and focus it somewhere on the edge of this burnt area, then keep doing that until you’ve got about a five-cent piece sized spot that’s smouldering and beginning to smoke a little.
Once you think you’ve got a big enough area that’s smouldering, place your lens off to the side.
Step 7: Give the tinder some oxygen
Fire requires heat, oxygen and fuel. Your Fresnel lens takes care of the heat and your tinder is the fuel. Now you need to add in the oxygen!
You can do this in a few ways, like gently fanning the tinder with a hat or blowing on it, or by bundling it up in some grass or pine needles and shaking it.
You know this step is working if the tinder begins to smoke more. Keep this up and you should have a flame within a minute or two. Done!

Tips and tricks for using a Fresnel lens fire starter
- Get your tinder right. Not all tinder is going to produce the same results, so it is helpful to experiment with different materials when you’re just starting out so you can get a feel for what works best in a variety of weather conditions.
- Hold still. Yes, we said it before but this is probably the #1 reason people struggle to use a Fresnel lens as a fire starter. If you’re struggling, try the stick technique we mentioned in the instructions above!
- Have realistic expectations. A Fresnel lens is a pretty amazing piece of kit, but it isn’t magic. You need sunlight, dry tinder and a steady hand start a campfire with it – and even then it can take a while to get the hang of. Be patient and keep trying, it’s all a part of the learning experience.
- Carry alternative fire-starting methods. We recommend carrying at least two fire-starting methods when you’re heading off for an outdoor adventure.
Now you know why we carry a Fresnel lens at all times!
Here at Alton, we strive to make sure that we'd be capable of handling ourselves an unexpected emergency situation. Carry a Fresnel lens is just one tiny part of that.
For an item that's so small and costs less than a coffee, a Fresnel lens has a surprisingly big payoff – which is why we think every adventurer should carry one.
To learn more about bushcraft and wilderness survival, read our blog on why you should give bushcraft camping a go.